

Best Root Vegetables for Container Gardening
The best root vegetables for container gardening—with exact pot depths, soil recipes & proven cultivars for any balcony. Start your first harvest today!
Let’s be honest — there’s something deeply satisfying about pulling a carrot out of a pot on your own balcony. No yard? No problem. Growing the best root vegetables for container gardening is easier than most people think, and the results can genuinely surprise you.
Whether you’re working with a tiny patio, a sunny fire escape, or a rooftop that gets decent light, you can grow crisp radishes, sweet beets, and even full-sized potatoes in containers. You just need to know which vegetables to pick, how deep your pots should be, and what to put inside them.
This guide breaks it all down — no fluff, no guesswork.
Quick Start: The best root vegetables for container gardening are radishes (6–8″ deep pots), carrots and beets (10–12″), and potatoes (18″ fabric grow bags). Use a loose, rock-free soil mix at pH 6.0–7.0. Feed with low-nitrogen, high phosphorus-potassium fertilizer. That’s the formula. The rest of this article shows you exactly how to execute it.
Table of Contents
1. Know Your Root Type Before Choosing the Best Root Vegetables for Container Gardening
Here’s where most people go wrong right out of the gate. They grab a big pot, toss in some seeds, and hope for the best. But root vegetables aren’t all built the same underground, and the type of root directly determines what kind of container you need.
Think of it like shoes. You wouldn’t wear hiking boots to the beach. Same logic applies here.
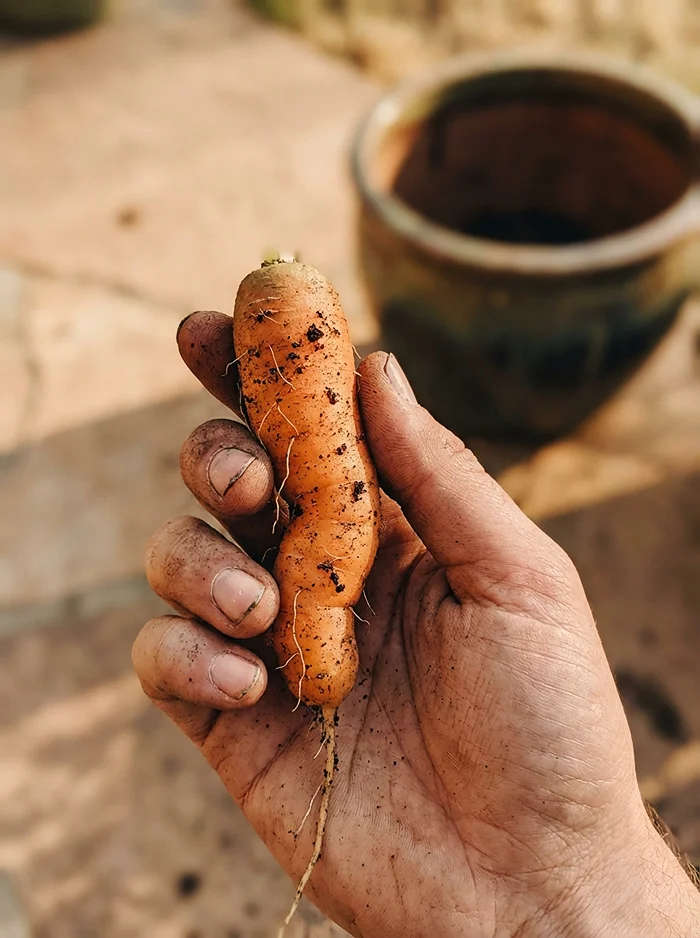
Taproots — Carrots, Beets, Radishes
These guys grow straight down like a drill. One single root, driving deeper into the soil.
That means they need tall containers filled with loose, sifted medium — absolutely no rocks, no clumps, no chunks of uncomposted bark. One pebble in the wrong spot and your carrot comes out looking like it’s throwing gang signs.
The carrot container depth you need is 10–12 inches minimum. Radishes can get by with 6–8 inches. Beets want the same depth as carrots.
Tuberous Roots — Potatoes, Sweet Potatoes, Yams
Tubers are a different animal. They expand outward along the buried stem, which is why you “hill” them — piling more soil around the stems as they grow to create more layers of potato production.
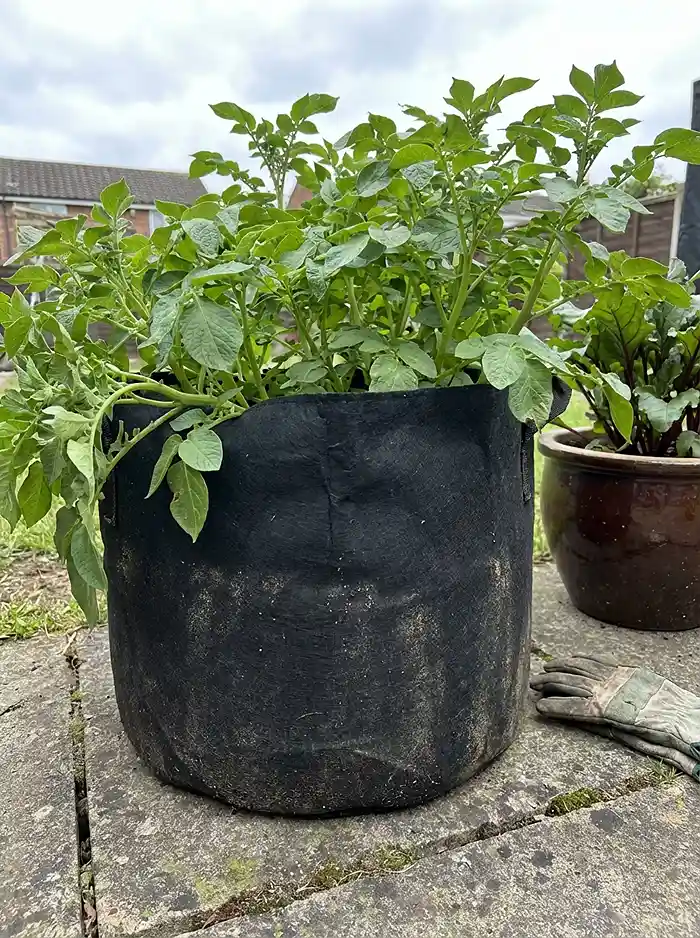
Growing potatoes in bags (specifically fabric grow bags) is the move here. The fabric lets air prune the roots naturally, which prevents circling and rot. A 10-gallon bag with 18 inches of depth is the sweet spot.
You need volume with tubers, not just depth.
Bulbs & Rhizomes — Onions, Garlic, Ginger
These are the slow players. Garlic takes 8–9 months. Ginger isn’t much faster. They’re a commitment.
They’re also drama queens about water. Even a day of soggy soil can trigger fungal problems. Wide, shallow containers with serious drainage are what you want here.
2. Best Soil for Container Root Vegetables: It’s Not What You Think
Here’s a confession: I used to just buy a bag of potting mix and call it a day. My carrots were stubby, my beets were woody, and my radishes tasted like disappointment.
The best soil for container root vegetables is something you build, not something you grab off a shelf. Let me walk you through it.
The Drainage Layer Myth — Ditch the Rocks
You’ve seen the advice everywhere: “Put gravel or broken pots at the bottom for drainage.” It sounds logical. It’s also wrong.
A layer of coarse material at the bottom creates what’s called a perched water table. Water actually pools at the boundary between the fine soil and the coarse gravel before draining through. That means the saturated zone sits higher — closer to your roots — increasing rot risk.
According to Washington State University’s extension research, a uniform growing medium from top to bottom provides the most reliable drainage. Just use pots with drainage holes. That’s it. No gravel ceremony required.
Chemical Targets — pH, Silicon, and Calcium
Aim for pH 6.0–7.0. Most root crops are happiest in this range, and a simple $10 soil test kit keeps you on track.
Two underrated additives: silicon increases heat and drought tolerance (which matters a lot when your containers are baking on a south-facing balcony), and calcium prevents internal browning in potatoes and off-texture issues in beets. A handful of agricultural gypsum adds calcium without messing with your pH.
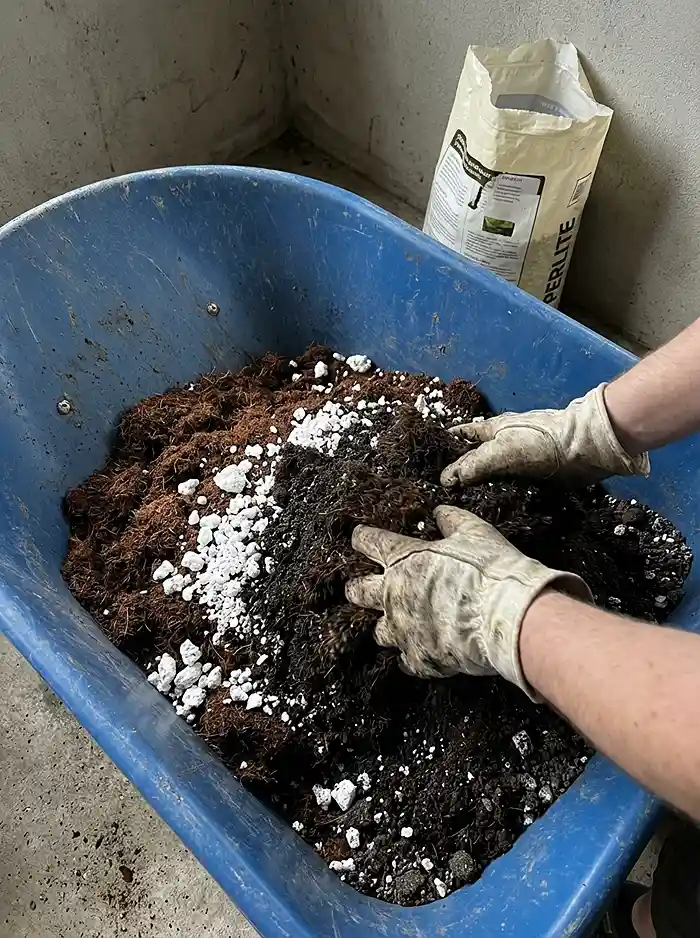
The Substrate Recipe That Actually Works
Here’s the mix I use and recommend to anyone growing the best root vegetables for container gardening:
| Component | What It Does | Ratio |
|---|---|---|
| Peat Moss / Coco Coir | Holds moisture evenly | 40% |
| Perlite / Pumice | Creates air pockets for drainage | 30% |
| Worm Castings | Feeds roots slowly + adds beneficial microbes | 20% |
| Vermiculite | Buffers minerals and moisture | 10% |
Light, fluffy, drains well, holds just enough water. It’s the Goldilocks zone for roots.
3. Container Depth for the Best Root Vegetables in Container Gardening
I’m going to save you a lot of trial and error. Here are the exact depths, tested and proven.
Depth Requirements by Crop
| Vegetable | Minimum Depth | Best Container |
|---|---|---|
| Radishes | 6–8 inches | Window box, shallow planter |
| Carrots | 10–12 inches | Deep round pot (5-gallon+) |
| Beets | 10–12 inches | Deep round pot (5-gallon+) |
| Potatoes | 18 inches | 10-gallon fabric grow bag |
| Onions / Garlic | 8–10 inches | Wide, shallow trough |
| Ginger | 12 inches | Wide pot with drainage holes |
The carrot container depth question is the one I get asked most. For standard varieties: 10–12 inches, non-negotiable. For stubbier varieties like Parisian, you can cheat down to 6–8 inches.
For a deeper walkthrough on matching each crop to the right pot size, check out this full guide on how to grow root crops in pots and containers.
Material Comparison — Which Container Material Wins?
- Plastic pots: Cheap, lightweight, retain moisture well. But they overheat in direct sun, which can literally cook shallow roots. Not ideal for summer balconies.
- Terra cotta / clay: Breathable and heavy enough to stay put in wind. They dry out faster, which actually makes them great for rot-sensitive onions and garlic.
- Fabric grow bags: The best option for growing potatoes in bags, hands down. Air-pruning keeps roots healthy, and they’re collapsible for off-season storage. The downside? They dry out quickly and need more frequent watering.
- Sub-irrigated planters (SIPs): These water from below via a built-in reservoir. They keep moisture perfectly consistent, which makes them ideal for carrots and beets — two crops that crack and split when watering is erratic. If you’re serious about the best root vegetables for container gardening, a SIP is worth the investment.
4. The 7-Step Growth Cycle for the Best Root Vegetables in Containers
Here’s your start-to-finish playbook. Every step solves a real problem that container growers run into.
Step 1 — Direct Sow, Don’t Transplant
Root vegetables hate being moved. Transplanting a developing taproot almost always causes it to fork, twist, or just give up.
Always sow directly into your final container. One exception: soak beet seeds in water for 12–24 hours before planting. Beet “seeds” are actually hard little clusters with multiple seeds fused together, and soaking softens that outer shell dramatically.
Step 2 — Thin Ruthlessly (Yes, It Hurts)
This is the step everyone skips because it feels wasteful. I get it. You watched those little seedlings fight their way out of the soil and now you’re supposed to kill most of them?
Yes. Do it.
Once seedlings hit 2 inches tall, thin to final spacing. Use scissors to snip at the soil line — pulling seedlings out disturbs the roots of the ones you’re keeping.
Spacing: Radishes — 2 inches. Carrots — 3 inches. Beets — 4 inches. Onions — 4 inches.
Crowded roots produce a harvest of marbles. Don’t skip this.
Step 3 — Give Them Enough Light
Minimum 6 hours of direct sunlight. Ideal is 8–12 hours.
Here’s the container advantage nobody talks about enough: you can move your pots. Sun shifted to the other side of the balcony this month? Wheel them over. That flexibility is something in-ground gardeners can only dream about.
Step 4 — Water Consistently (This Is the Big One)
Inconsistent moisture is the number-one killer of root quality in containers. One dry spell followed by a heavy soak, and your carrots crack, your radishes go pithy, and your beets turn woody.
Water when the top inch of soil feels dry. Mulch the surface with straw or coco coir to slow evaporation. Or — use a sub-irrigated planter and let physics handle it for you.
Step 5 — Fertilize Smart: Low Nitrogen, High P-K
Here’s a mistake I made for two full seasons: using a balanced all-purpose fertilizer. My carrot tops looked like a lush tropical forest. The actual carrots were the size of my pinky finger.
Nitrogen drives foliage. For root development, you want phosphorus and potassium.
Use an organic root vegetable fertilizer with a ratio like 2-8-4 or 3-9-4, applied every 3–4 weeks. Bone meal (phosphorus) and kelp meal (potassium + trace minerals) are the two best amendments you can add.
Step 6 — Know When to Harvest
Look for “shouldering” — that’s when the top of the root pushes visibly above the soil line. It’s the universal ready signal for carrots, beets, and radishes.
For potatoes, wait 2–3 weeks after the foliage has completely died back. For garlic, harvest when the bottom 3–4 leaves have browned but the upper leaves are still green.
Don’t rush it. A week of patience can mean 20% more size.
Step 7 — Cure Before You Store
Curing toughens skins and extends storage life by weeks or even months.
Potatoes: Store in a dark, humid spot at 60–70°F for 10–14 days. Onions and garlic: Lay them out in a dry, well-ventilated area for 2–4 weeks until the necks feel papery. Carrots and beets: No curing needed — just twist off the green tops immediately and refrigerate unwashed.
5. Best Root Vegetable Cultivars for Container Gardening
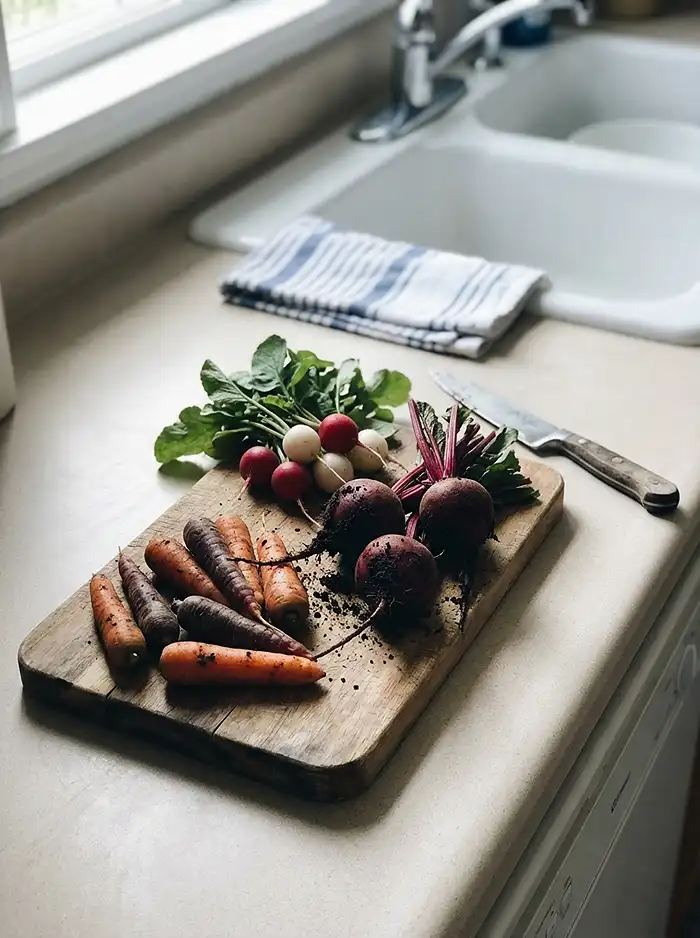
Not every variety performs well in a pot. These cultivars are specifically suited to confined root zones and fast turnarounds.
| Crop | Cultivar | Why It Works |
|---|---|---|
| Carrot | Adelaide Baby | Short (3–4″), fast maturity, loves shallow pots |
| Carrot | Parisian (round) | Globe-shaped — only needs 6″ depth |
| Beet | Boro | Compact, uniform, ready in 50 days |
| Radish | D’Avignon | French elongated type, harvest in 21 days |
| Turnip | Scarlet Ohno | Small globe with edible greens — two harvests in one |
| Potato | Yukon Gold | Determinate type, stops at a set height — perfect for bags |
| Onion | Tokyo Long White | Bunching variety, harvest continuously |
| Ginger | Chinese Canton | Compact rhizome spread, genuinely thrives in pots |
Pro tip: When buying seeds, look for “baby,” “mini,” “round,” or “determinate” on the packet. Those words are code for “bred to perform in small spaces.”
Frequently Asked Questions About the Best Root Vegetables for Container Gardening
Why are my container-grown carrots forked?
Almost always, it’s obstructions in the soil. A rock, a chunk of bark, a compressed zone — anything the taproot hits, it splits around. Sift your growing medium before planting and remove any particle larger than about 5mm.
Can I reuse potting soil for root vegetables next season?
You can, but don’t just dump it back in the pot and replant. Used soil harbors pathogens like Pythium that cause root rot. Pasteurize it first: either solarize in sealed black bags for 4–6 weeks under summer sun, or bake at 180°F for 30 minutes. Then re-amend with fresh worm castings and perlite to restore structure and nutrition.
Do I still need fertilizer if I used compost in my mix?
Yes — and this catches a lot of people off guard. Containers leach nutrients with every single watering. Compost gives you a solid starting baseline, but it won’t sustain root development through a full season without supplemental P-K feeding.
What’s the best container depth for carrots?
For standard varieties, the carrot container depth should be 10–12 inches minimum. If you grow shorter cultivars like Parisian or Adelaide Baby, 6–8 inches will work.
Can I grow potatoes in 5-gallon buckets?
Technically yes, but you’ll be underwhelmed. Growing potatoes in bags — specifically 10-gallon fabric grow bags — gives you the 18 inches of depth and hilling room needed for a real harvest (3–5 lbs per bag). A 5-gallon bucket just doesn’t give them enough vertical space to produce multiple tuber layers.
Growing the best root vegetables for container gardening isn’t complicated once you understand the basics: match your container depth to the crop, build a proper substrate, keep moisture consistent, and feed for roots — not leaves. Start with radishes if you want a quick win in three weeks, graduate to carrots and beets, and when you’re feeling ambitious, drop some seed potatoes into a fabric grow bag and watch what happens. Your balcony has more potential than you think.