

Spring Small-Space Gardening Checklist for Beginners
5 phases. Zero fluff. This beginner-friendly spring small-space gardening checklist turns any balcony into a productive garden. Start Phase 1 today →
Look, I’m going to be honest with you — I killed more plants in my first year of gardening than I’d like to admit. Overwatered basil, sunburned tomato seedlings, soil that was basically concrete. The whole disaster.
That’s exactly why I put together this spring small-space gardening checklist for beginners. It’s the guide I wish someone had handed me before I wasted money, time, and a perfectly innocent rosemary plant.
Spring garden prep isn’t just about tossing seeds into dirt and hoping for the best. It’s a phased process — assess your space, fix your soil, time your planting, and build small daily habits that actually stick. Whether you’ve got a tiny balcony, a few windowsills, or an awkward patio corner, this 2026 garden checklist walks you through five clear phases from early March through May.
Table of Contents
Phase 1 — The Space Assessment Most Beginners Skip (Early March)
Here’s where most new gardeners go wrong: they buy seeds first and ask questions later. Don’t be that person. The very first step in your spring small-space gardening checklist is figuring out what your space can actually handle.
Auditing Your Setup: Weight, Wind, and Water
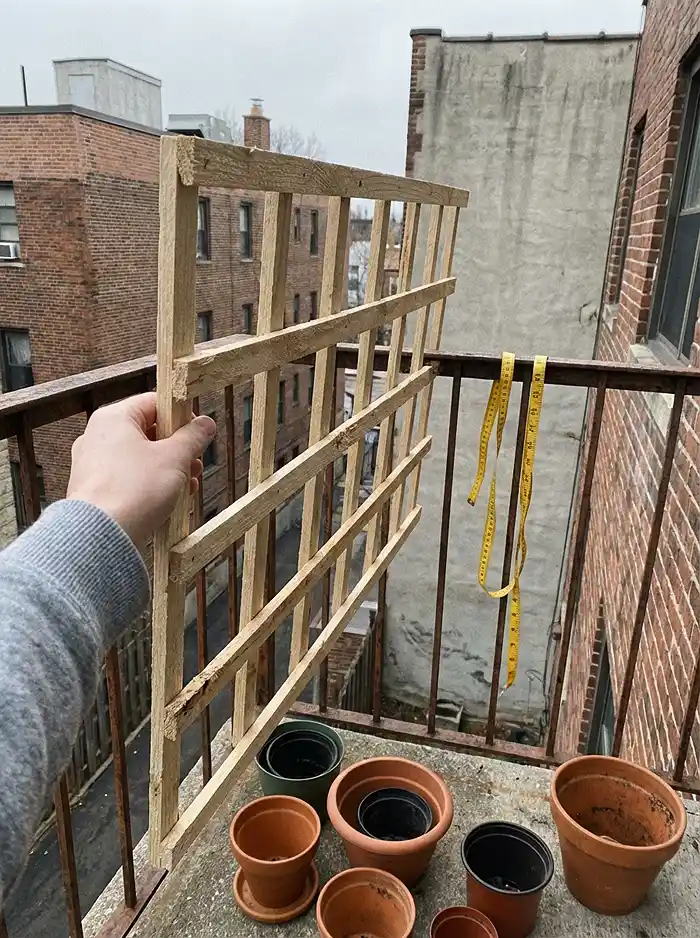
Before a single pot goes down, run through this quick audit:
- Weight limits matter more than you think. One large container of wet soil easily tops 50 pounds. If you’re on a balcony or rooftop, confirm your structure can take it. Nobody wants to explain a collapsed balcony to their landlord.
- Check for winter damage. Railings, hardscaping, existing planters — look for cracks from freeze-thaw cycles. Fix it now or regret it in June.
- Map your sunlight. Spend a day tracking how many hours of direct sun each spot gets. Most edibles want at least 6 hours. That shady corner? Herbs and lettuce might work there, but tomatoes won’t.
- Find your water source and drainage path. Know where your nearest spigot is. Make sure water can drain freely — standing water is a root-rot factory.
2026 Tip I love: Run a “Wind Audit.” Instead of solid panels as windbreaks (they catch gusts and topple — I’ve watched it happen), use lightweight vertical trellises. They break the wind and double as climbing structures for peas and beans. Two jobs, one setup.
Read Nature, Not Just the Calendar
This part’s underrated. Don’t plant just because your calendar says March.
Watch what’s happening around you: is sap running in nearby trees? Are birds nesting? How deep has the soil actually thawed? Cross-reference your USDA hardiness zone last frost date with what you see with your own eyes.
If the ground’s still frozen and soggy, it’s telling you something. Listen to it.
Phase 2 — Spring Cleanup Without Destroying Your Ecosystem (Late March)
The Pollinator-Friendly Cleanup
I know the urge — it’s warming up, and you want to clear out every dead leaf and twig. Hold off.
Delay removing debris until daytime temps consistently sit above 50°F. Why? Overwintering pollinators, including native bees, might still be sheltering in those hollow stems and leaf piles. Yanking everything out early is basically evicting them mid-nap.
A trick I swear by: Leave about 12 inches of last year’s perennial stems standing. Cavity-nesting bees use them as habitat well into spring. Pull only obviously diseased material. Everything else can wait a couple more weeks.
Tool Prep: Think Like a Surgeon
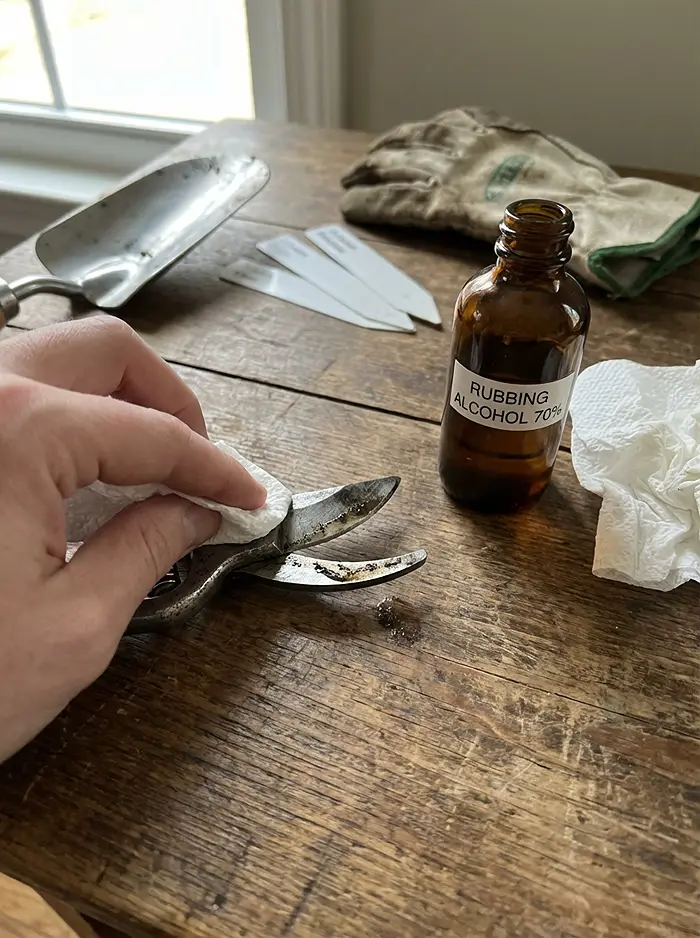
Dull, dirty tools spread disease between plants faster than you’d expect. Here’s the quick checklist for your spring small-space gardening toolkit:
- Sharpen your pruners, trowels, and shears. A clean cut heals faster than a ragged one.
- Sterilize blades with 70%+ isopropyl alcohol between plants. This sounds extreme until you lose a whole container to bacterial wilt.
- Inventory everything. Pots, stakes, labels, seed-starting trays — figure out what you need now, not the day you’re ready to plant.
- Replace cracked containers. They hemorrhage moisture and can snap roots mid-season. Cheap insurance.
Phase 3 — Urban Soil Preparation: The Foundation of Your Spring Small-Space Gardening Checklist
Here’s the truth nobody puts on their Pinterest infographic: soil is your entire garden. Get it wrong, and nothing else matters. Get it right, and you’ll be amazed how forgiving the rest of the process becomes.
Urban Soil Safety: Test Before You Trust
If you’re planting in-ground anywhere in an urban area, send a soil sample to a professional lab. Test for lead and heavy metals. This isn’t optional — urban soil near old buildings and roads frequently carries contamination that you cannot see, smell, or taste.
For container gardening, skip garden soil entirely. Use fresh, high-quality potting mix and amend it with compost at a 1:3 ratio (one part compost to three parts mix). This gives you better moisture retention and nutrient density without the drainage problems.
The National Gardening Association’s soil prep guide is a solid resource if you want to dive deeper into urban soil preparation fundamentals.
The Soil Warming Hack That Actually Works
Cold soil stunts roots, even when the air feels perfectly warm. Here’s the fix:
Cover your beds or large containers with black plastic sheeting or dark mulch for 7 days before planting. This passively raises the soil temperature enough to give seeds and transplants a real head start.
Check the temp at 2-inch depth with a probe thermometer. For cool-season crops, you’re targeting at least 45°F. If you’re not there yet, give it another few days. Patience pays off here.
Container Depth Guide (Save This)
| Crop Type | Minimum Depth |
|---|---|
| Lettuce, herbs, radishes | 4–5 inches |
| Peppers, beans, cucumbers | 8–10 inches |
| Tomatoes, broccoli, potatoes | 10–12 inches |
Picking the right depth prevents root-binding and directly impacts how much you’ll harvest. Don’t cheap out on shallow pots for deep-rooted crops — you’ll just end up frustrated.
Phase 4 — Your Spring Small-Space Gardening Sowing and Transplanting Plan (April–May)
Alright, this is the part you’ve been waiting for. Seeds, soil, sunshine — let’s go.
Picking Plants That Actually Earn Their Space
In a small garden, every square inch is prime real estate. Not every plant deserves a spot. Here’s how to think about it:
- Go compact and high-yield. Bush beans, dwarf tomatoes, and patio cucumbers produce heavily without sprawling all over the place.
- Think vertical. Pole beans, trailing strawberries, wall-mounted herb planters — stack your production upward instead of outward.
- Brand-new to gardening? Start with lettuce, radishes, and herbs like basil, mint, or parsley. They grow fast, they’re genuinely hard to kill, and harvesting your own salad for the first time is unreasonably satisfying.
The Cool-Season First Wave: Your Seed Starting Schedule
Your first outdoor sowings should be tough, cold-tolerant crops:
- Direct sow outdoors in April: radishes, peas, spinach, carrots, arugula.
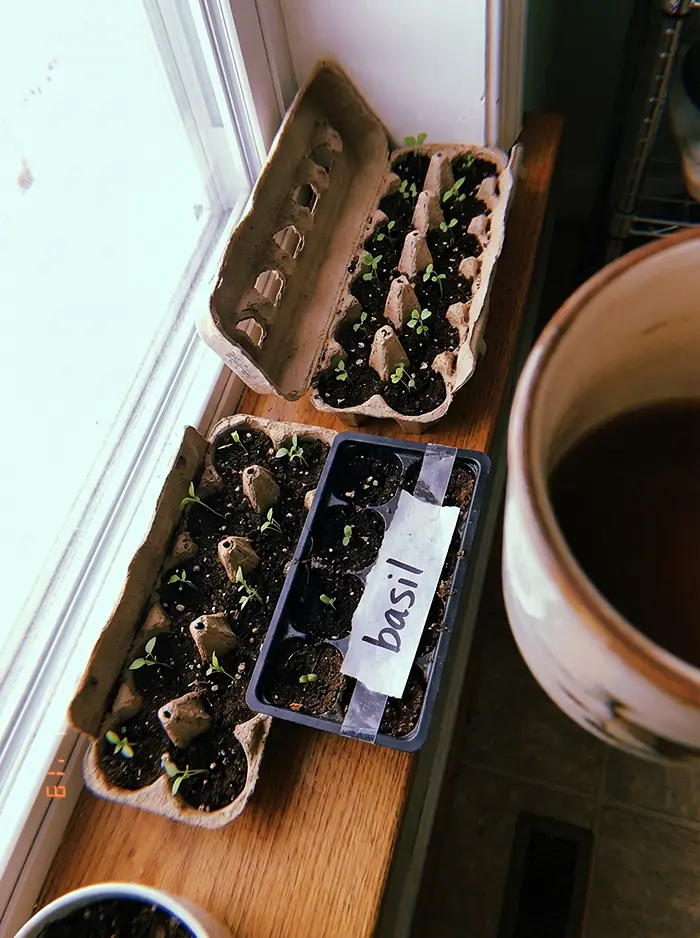
- Start indoors for later transplant: tomatoes, peppers, eggplant.
What can you actually expect to harvest? Here’s a realistic breakdown:
| Crop | Expected Yield (per 10 ft row or equivalent containers) |
|---|---|
| Carrots | ~10 lbs |
| Lettuce | ~15 heads |
| Radishes | ~12 lbs |
| Spinach | ~8 lbs |
| Peas | ~5 lbs |
These assume you’re watering consistently, spacing properly, and giving plants adequate light. Slack on any of those, and your numbers will drop.
First Fertilization: Less Is More
This is where eager beginners get into trouble. Here’s the sensible approach:
- At planting: Mix a slow-release organic granular fertilizer into the top 2 inches of soil. That’s it.
- For containers: Start liquid seaweed or fish emulsion at half-strength every 2 weeks — but only after seedlings are established, not the day you plant.
- The golden rule: Do not over-fertilize at sowing. Young roots burn easily, and too much nitrogen pushes leggy, floppy leaf growth at the expense of actual fruit and root development.
Hardening Off Seedlings: The Step You Cannot Skip
Let me be blunt — this is the single most important section in this entire spring small-space gardening checklist for beginners. If you started seeds indoors, you must harden them off before transplanting. Skip this, and you will lose plants. I’ve watched it happen, and it’s heartbreaking.
Your indoor seedlings have never experienced real UV, wind, or temperature swings. Moving them outside suddenly causes transplant shock, sunscald, and frequently, death.
Here’s the 10-day hardening off schedule:
- Days 1–3: Place seedlings outside in sheltered shade for just 1–2 hours. Bring them back in.
- Days 4–6: Bump it up to 3–4 hours with some partial direct sun.
- Days 7–9: Full sun. Leave them out until evening.
- Day 10: Transplant into their final containers or beds.
It feels tedious. It’s worth every minute. There is genuinely no shortcut here.
Phase 5 — Building Habits That Keep Your Spring Small-Space Garden Thriving
Planting is the exciting part. Maintaining is where the real harvest comes from. Once your garden is in the ground (or in pots), these daily habits will make or break your season.
For a month-by-month breakdown of exactly what to do and when, check out our Small-Space Gardening Monthly Maintenance Calendar for Beginners — it pairs perfectly with this checklist.
The 5-Minute Daily Scouting Walk
Commit to just 5 minutes a day walking through your garden. Flip leaves over. Look for aphid clusters, tiny eggs, weird discoloration, or wilting that doesn’t match your watering schedule.
The principle is simple: catch problems at 3 affected leaves, not 30. In a small space, pests can overwhelm your plants shockingly fast. Early intervention — by hand or a strong spray of water — beats any product you can buy.
Aromatic Borders: Your Delicious Pest Defense
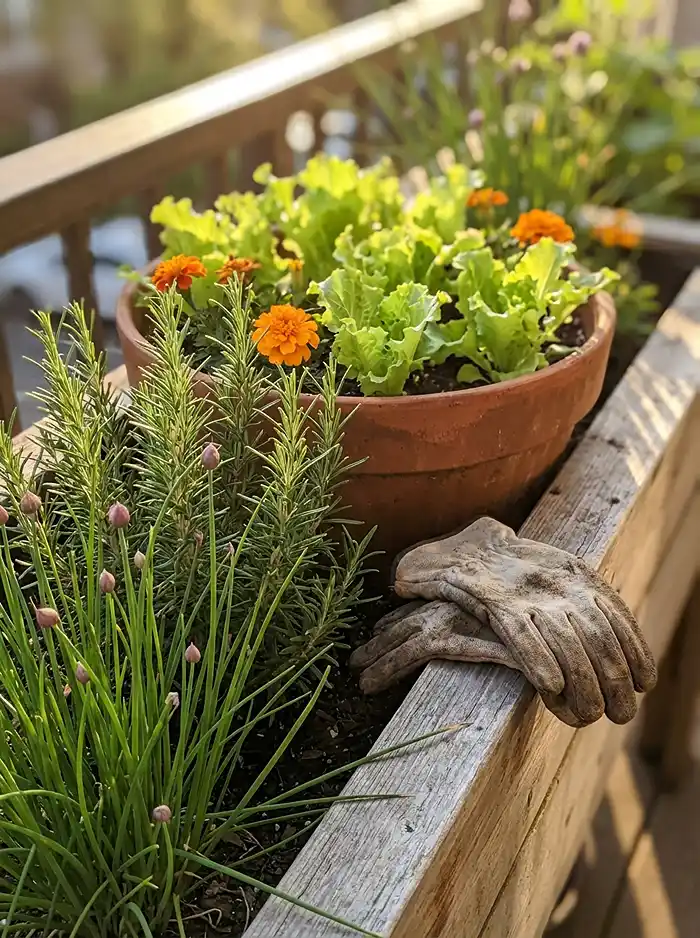
Ring your beds and containers with garlic, rosemary, chives, and marigolds.
These plants release volatile aromatic compounds that genuinely confuse and repel common pests like aphids, whiteflies, and carrot flies. It’s a chemical-free perimeter defense that smells fantastic and — here’s the best part — you harvest the border too. Pest control you can eat. What’s not to love?
Frequently Asked Questions About Spring Small-Space Gardening
When is it safe to plant my spring garden?
When soil temperature (not air) hits about 45°F and the ground is crumbly, not clumpy or waterlogged. Grab a cheap soil thermometer. Seriously, don’t guess on this one.
How deep do my containers need to be?
Shallow-rooted greens and herbs are happy in 4–5 inches. Heavy-rooted crops like tomatoes, broccoli, or potatoes need at least 10–12 inches to develop properly.
Can I use pressure-treated wood for raised beds?
Lumber sold after 2003 in the U.S. no longer contains arsenic-based preservatives (CCA). That said, lining the interior with food-safe plastic sheeting adds an extra safety layer and is strongly recommended for any edible garden.
What’s the biggest beginner mistake in small-space gardening?
Skipping the hardening-off process. By a mile. Moving indoor seedlings straight into outdoor sun and wind kills more beginner plants than every pest and disease combined.
How often should I water containers in spring?
Check daily — containers dry out way faster than in-ground beds, especially on sunny balconies. Water when the top inch of soil feels dry. Not on a schedule. Not every other Tuesday. Just check and respond.
Your Spring Small-Space Gardening Checklist Starts Right Now
You’ve got the full spring small-space gardening checklist for beginners — five clear phases: assess, clean, build your soil, sow smart, and monitor like it matters (because it does).
You don’t need a sprawling backyard. You don’t need fancy equipment. You need a plan, decent timing, and the willingness to actually follow through.
Start Phase 1 this week. Your future self — the one eating homegrown salad on the balcony in July — will thank you for it.