

Apartment Herb Garden Aesthetic for Summer
Your apartment herb garden doesn’t have to look like an afterthought. With the right containers, a little planning, and the best summer herbs, you can build something that’s genuinely stunning — and feeds you all season. Miss this window and you’ll be buying sad grocery-store basil until fall.
Table of Contents
Creating a Stylish Apartment Herb Garden for Summer
A great apartment herb garden does two things at once: it looks intentional, and it actually produces. That balance is easier to hit than most people think.
The secret is treating your herb setup like you’d treat any other part of your decor. Choose a visual style first, then pick plants and containers that fit it. Summer is the best time to start — warmth speeds up growth, and lush green herbs photograph beautifully against bright light.
In this guide, you’ll get practical layout ideas, the best herbs for warm weather, and the small styling tricks that make the difference between a cluttered windowsill and a display you actually want to show off.
Planning Your Aesthetic Herb Garden
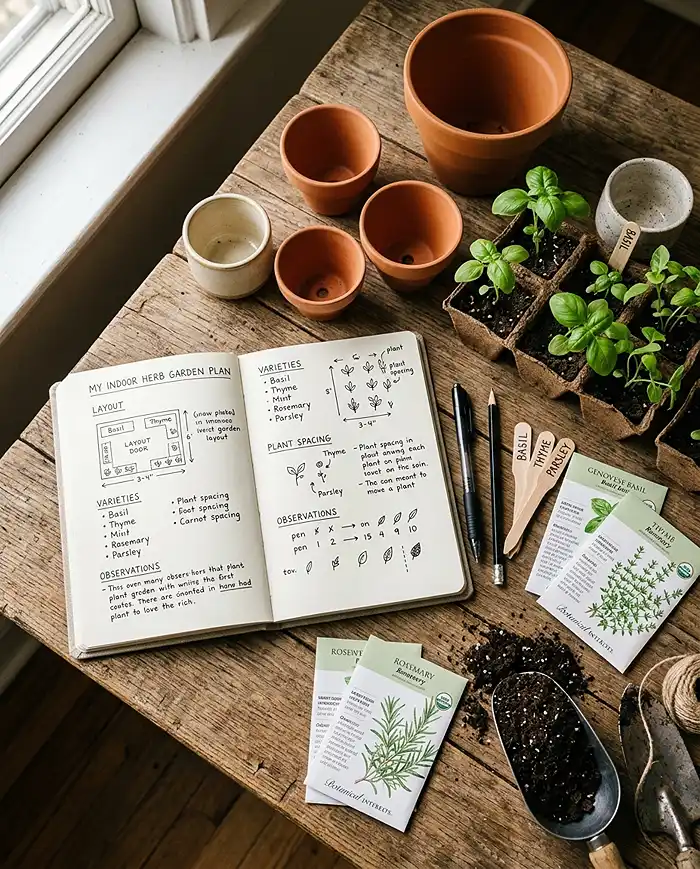
Before you buy a single pot, spend ten minutes with a plan. Winging it is how you end up with mismatched containers, wrong-light plants, and a garden that frustrates you by August.
Think about three things: where the light is, what visual style you’re going for, and what you’ll actually use in the kitchen. Get all three aligned and everything else falls into place.
Finding the Best Spot: Light and Air Flow
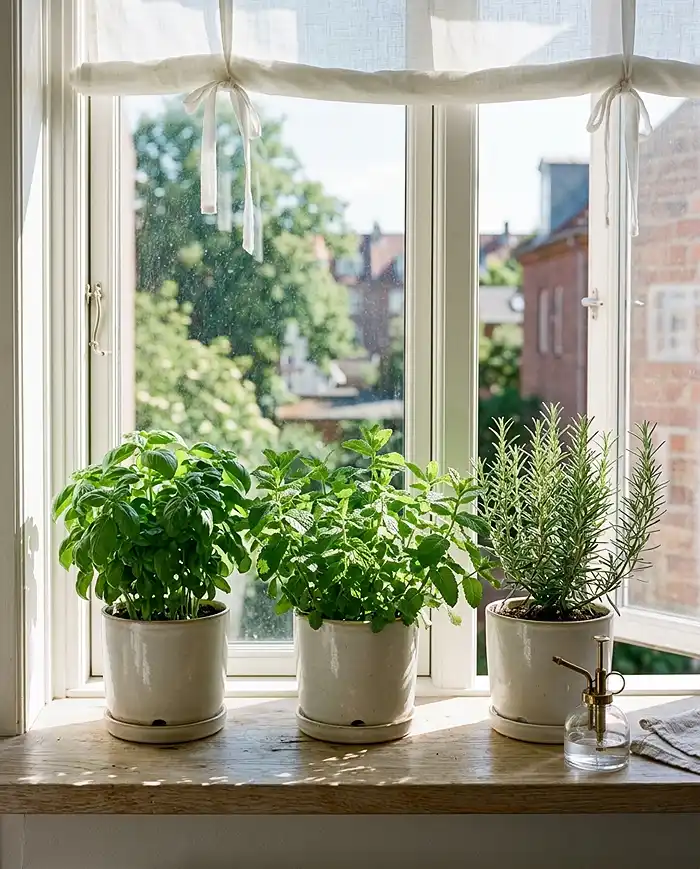
Quick Answer: Most herbs need 6+ hours of direct sun daily. A south- or west-facing windowsill or balcony is your best bet in summer.
Walk around your apartment at noon on a clear day. Note which surfaces get direct sun — not bright indirect light, but actual sun patches. That’s your prime real estate for a container herb garden.
- South-facing windows: ideal, full sun most of the day
- West-facing windows or balconies: strong afternoon sun, works well for basil and rosemary
- East-facing spots: morning sun only — fine for mint and chives, tough for thyme
- North-facing: not suitable without a grow light
Pro Tip: Airflow matters more in summer — stagnant humid air invites mildew. A small fan on low for a few hours a day makes a real difference indoors.
Choosing a Cohesive Aesthetic and Color Palette
Quick Answer: Pick one style — rustic, minimalist, Mediterranean — and stick to it across all your containers and accessories.
Mixing terracotta with sleek white ceramics and a tin can looks chaotic. But three terracotta pots with jute labels and a wooden tray underneath? That’s a vibe.
- Rustic/cottagecore: terracotta, woven baskets, kraft paper labels
- Minimalist: white or concrete ceramics, clean lines, no-label look
- Mediterranean: blue-and-white tiles, warm tones, trailing herbs
- Industrial: matte black metal planters, dark wood shelves
Real Example: I went all-in on a white-and-terracotta palette one summer. Three matching pots, a marble tray, and simple white plant labels. It looked like something from a magazine and cost under $30 total.
Stylish Containers and Display Ideas
The containers make or break your herb garden ideas. Ugly pots drag down even the most lush plants. Great pots make even a single rosemary look intentional.
You don’t need to spend a lot — thrift stores, IKEA, and even repurposed kitchen items work beautifully. The key is consistency.
For small apartments, think vertically. Wall-mounted racks and window shelves keep your floor and counter space free while turning your herbs into a living wall installation. Check out these small patio garden ideas for renters for more display inspiration that works in tight spaces.
Matching Pots, Tins, and Ceramic Planters
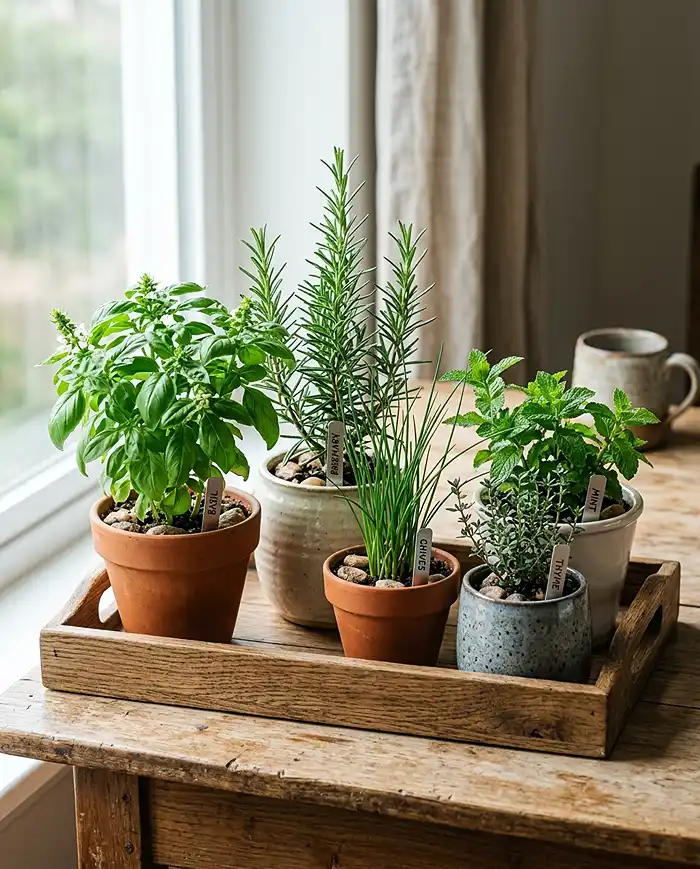
Quick Answer: Terracotta, ceramic, and glazed pots all work. Just make sure every container has a drainage hole and a matching saucer.
| Container Type | Best For | Watch Out For |
|---|---|---|
| Terracotta | Mediterranean herbs, rustic look | Dries out fast in summer heat |
| Glazed ceramic | Minimalist or colorful aesthetics | Heavier, can crack outdoors in frost |
| Glass jars (mason jars) | Cuttings and propagation | No drainage — use for display only |
| Tin cans (repurposed) | Industrial or rustic style on a budget | Rust over time, drill drainage holes |
| Concrete planters | Minimalist, modern look | Very heavy, slightly alkaline soil effect |
Pro Tip: Buy a set of matching saucers even if your pots are mismatched — it unifies the look instantly and protects your windowsill.
Vertical Racks, Hanging Displays, and Window Shelves
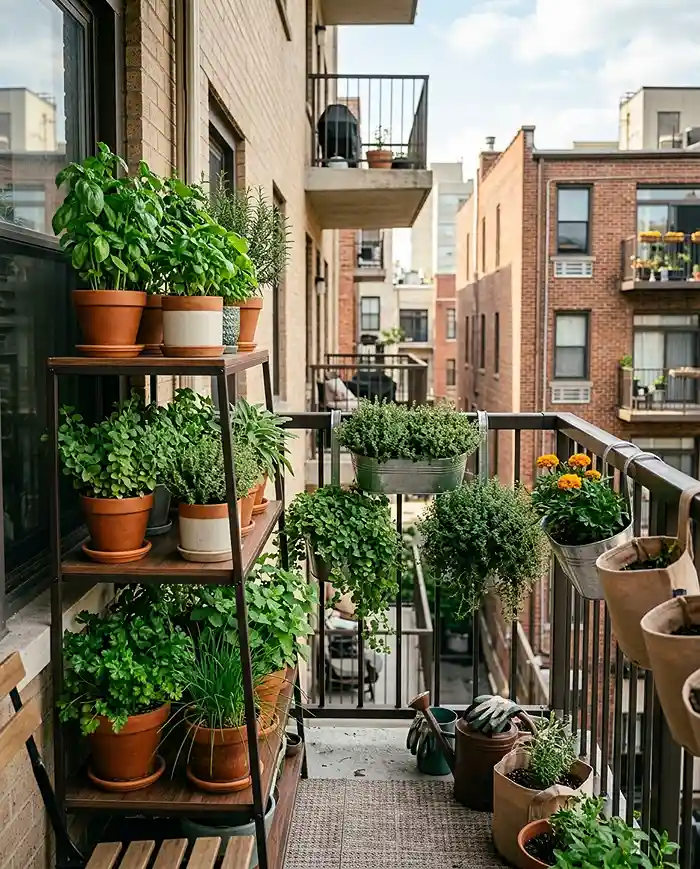
Quick Answer: Vertical displays are the best move for small apartments. They save counter space and look like intentional wall decor.
- Tiered shelf risers: great for windowsills, create height variation with 2-3 levels
- Hanging planters: macrame or metal, works well for trailing herbs like thyme
- Pegboard wall racks: fully customizable, easy to renter-proof with adhesive hooks
- Tension rod + S-hooks: install between window frames with zero wall damage
For more layout ideas, the guide on how to arrange pots on a small balcony has great principles that apply indoors too.
Real Example: A tension rod in my kitchen window with four hanging herb pots freed up my entire counter — and it looked better than anything I’d had sitting on it.
Best Herbs to Grow in Summer
Not every herb thrives in summer heat. Some bolt fast, some go bitter, some absolutely love it. Picking the right ones for your apartment herb garden means less frustration and better harvests.
Here’s what works well for summer container gardening in a warm indoor environment:
| Herb | Light Needed | Summer Performance | USDA Zones (Outdoors) |
|---|---|---|---|
| Basil | 6-8 hrs direct sun | Excellent — thrives in heat | Zones 10-11 perennial, annual elsewhere |
| Mint | 4-6 hrs | Very good — keep moist | Zones 3-11 |
| Chives | 4-6 hrs | Good — may slow midsummer | Zones 3-9 |
| Rosemary | 6-8 hrs direct sun | Excellent — drought tolerant | Zones 7-11 |
| Thyme | 6+ hrs | Great — handles heat well | Zones 4-9 |
| Purple Basil | 6-8 hrs direct sun | Excellent — stunning color | Annual in most zones |
| Cilantro | 4-6 hrs | Tricky — bolts in heat | Zones 2-11 (cool season) |
Easy Beginner Herbs (Basil, Mint, Chives)
Quick Answer: Start with basil, mint, and chives. All three forgive beginner mistakes, grow fast, and look lush by midsummer.
- Basil: Sow seeds or buy transplants in May-June. Pinch flower buds weekly. Grows 12-24 inches in a 6-inch pot with full sun.
- Mint: Always container-plant this one — it spreads aggressively in ground. Keeps its color in partial shade. Great for pollinator container gardens too.
- Chives: Practically indestructible. Snip from the top and they regrow in days. The purple flowers are edible and look beautiful.
Real Example: My first apartment herb garden was just two basil plants and a pot of mint on a south-facing ledge. By July they were overflowing. I gave basil away to neighbors and still had more than I could use.
Pro Tip: Plant mint in its own container — it’ll crowd out everything else if you mix it with other herbs.
Statement Herbs for Visual Appeal (Rosemary, Thyme, Purple Basil)
Quick Answer: Rosemary, thyme, and purple basil add texture, color, and height that make your container herb garden look designed, not just planted.
- Rosemary: Upright varieties (like ‘Tuscan Blue’) grow tall and architectural. Cascading types spill beautifully over pot edges. Both are drought-tolerant and fragrant.
- Thyme: Tiny leaves, woody stems, creeping growth habit. Fills in gaps beautifully and works as ground cover in larger pots.
- Purple Basil (Ocimum basilicum ‘Purpurascens’): Deep burgundy leaves that contrast sharply with green herbs. Same care as regular basil.
Pro Tip: Group purple basil next to green basil and silver-leafed thyme for a color-blocked look that needs zero extra effort.
Soil, Drainage, and Setup Essentials
Herbs hate wet feet. More apartment herb gardens fail from overwatering and poor drainage than from any other cause.
Use a well-draining potting mix — standard houseplant soil is usually too dense. A mix designed for herbs or vegetables works better. You can also amend regular potting mix with 20-30% perlite.
- Always use pots with at least one drainage hole
- Add a thin layer of gravel or broken pot shards at the bottom to keep holes from clogging
- Fill pot to 1 inch below rim — leaves room for watering without overflow
- Set pots on saucers but empty saucers after 30 minutes so roots don’t sit in water
- Repot any herb that’s rootbound — roots circling the pot base are a sign
For DIY display ideas that incorporate planting, the DIY pallet garden guide has great tips for building custom herb displays from scratch.
Pro Tip: Slightly underwatering is almost always safer than overwatering for Mediterranean herbs like rosemary and thyme. When in doubt, wait a day.
Tools and Materials Checklist
You don’t need much. Here’s everything for a complete container herb garden setup:
- 3-5 matching pots with drainage holes (4-6 inch size for most herbs)
- Matching saucers for each pot
- Well-draining potting mix or herb-specific soil
- Perlite (optional — add 20% to improve drainage)
- Small watering can with a long, narrow spout
- Herb scissors or clean kitchen shears
- Plant labels (waterproof or chalk-pen labels)
- Liquid herb fertilizer (half-strength, balanced NPK)
- Spray bottle for misting seedlings
- Gravel or pot shards for drainage layer
Step-by-Step: Building Your Herb Garden Display
Once you have your containers and plants ready, setup takes about an hour. Here’s the process:
- Choose your location — confirm the spot gets 6+ hours of sun before committing
- Add drainage layer — 1/2 inch of gravel at the bottom of each pot
- Fill with potting mix — leave 1 inch at the top
- Plant your herbs — gently loosen root balls before placing, plant at same depth as original container
- Water thoroughly — soak until water drains from the bottom, then empty saucers
- Arrange your display — group pots by height, vary textures, use a tray to unify
- Label each herb — even if you know what they are now, you’ll appreciate labels later
Styling Tips for a Photo-Worthy Look
Quick Answer: Use odd numbers of pots, vary heights with risers, and add one non-plant element like a small book, candle, or cutting board.
- Rule of odds: Groups of 3 or 5 look more natural than even numbers
- Vary height: Use a riser or upturned pot to create a high-low-medium arrangement
- Add texture contrast: Pair a fine-leaved herb like thyme with broad-leafed basil
- One decorative accent: A small ceramic animal, stacked coasters, or a vintage tin elevates the whole display
Pro Tip: Step back and photograph your display from across the room. What you notice in photos is exactly what guests will notice in person.
Watering, Feeding, and Harvesting
Summer heat speeds everything up — including how fast your pots dry out. Most indoor apartment herb garden setups need watering every 1-2 days in peak summer, sometimes daily for small terracotta pots in full sun.
Use the finger test: push your finger 1 inch into the soil. If it’s dry at that depth, water. If still moist, wait. This beats any fixed schedule.
Feeding is simple. A half-strength liquid fertilizer every 2-3 weeks from June through August keeps herbs productive. More than that and you get lots of leaf but weak flavor — nitrogen-heavy fertilizers especially will dilute the essential oils that make herbs taste good.
The research on herb essential oil concentration backs this up — moderate feeding beats heavy feeding for flavor every time.
Harvesting to Keep Plants Lush and Productive
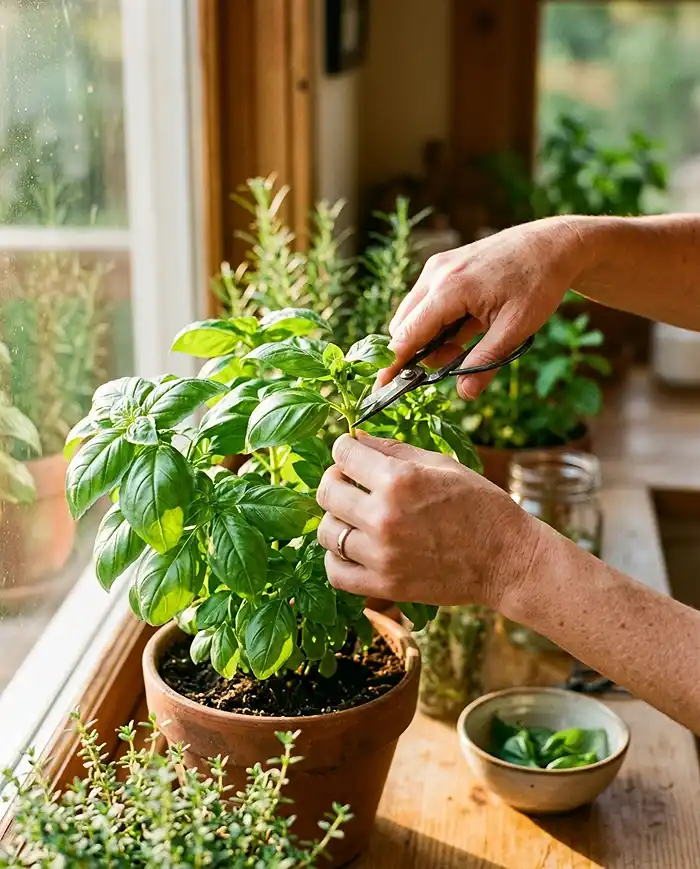
Quick Answer: Never take more than one-third of a plant at once. Always cut just above a leaf node to encourage branching.
- Basil: Pinch stem tips right above a pair of leaves — each cut produces two new stems
- Mint: Cut whole stems back by half when they get tall and leggy
- Chives: Snip from the top down, leaving 2 inches of growth at the base
- Rosemary: Take new soft growth only — never cut into old woody stems
- Thyme: Trim lightly after flowering to keep it bushy and prevent woody die-back
Real Example: I used to just pull leaves off as needed and wonder why my basil got thin and leggy. Switching to proper stem-tip pinching doubled the plant’s output within two weeks.
Pro Tip: Harvest in the morning after any dew has dried — that’s when essential oil concentration is highest and flavor is best.
Seasonal Care Through Summer Heat
July and August can stress indoor herbs even through glass. Direct sun through a window can reach 100°F+ on the surface of a dark pot.
Watch for these heat stress signs and act fast:
- Wilting despite moist soil: Move the pot back from the glass by 6-12 inches, or add a thin sheer curtain to diffuse afternoon sun
- Yellowing lower leaves: Usually overwatering or pot sitting in water — check saucer and drainage
- Bolting (sudden flowering): Pinch flowers off immediately and see the harvesting section above
- Pale, washed-out color: Can mean too much direct reflected heat — reposition to slightly less intense light
AC vents are another hidden problem. Cold, dry air blowing directly on herbs causes rapid moisture loss and temperature swings. Keep herbs at least 3 feet from any vent. For science-backed guidance on optimal herb growing conditions, the University of Minnesota Extension herb growing guide is one of the best free resources available.
Common Problems and Solutions
Leggy, Stretched-Out Herbs
Quick Answer: Legginess is always a light problem. Move the pot to more direct sun or add a grow light.
- Symptoms: long pale stems, small leaves, plant leaning toward light source
- Fix: Move to stronger light immediately. If no better spot exists, a basic LED grow light 6-8 inches above the plant for 12-14 hours/day works well.
- Prune leggy stems back by half to encourage compact, bushy regrowth
Pro Tip: Rotate pots 90 degrees every 3-4 days so all sides get even light exposure and plants grow upright.
Herbs Wilting or Drying Out
Quick Answer: Check soil moisture first — wilting can mean too dry or, counter-intuitively, too wet (root rot).
- Dry soil + wilting: water immediately and move out of direct harsh afternoon sun
- Moist soil + wilting: root rot likely — check roots for brown mushy sections, repot into fresh dry mix if found
- Consistent wilting in heat: try double-potting (pot inside a slightly larger pot) to buffer soil temperature
Bolting and Bitter Leaves in Summer Heat
Quick Answer: Bolting is triggered by heat and long days. Pinch flower buds the moment they appear to delay it.
- Pinch any flower stems back to the nearest leaf node immediately
- Move heat-sensitive herbs like cilantro and basil away from afternoon sun
- Harvest more aggressively — frequent harvesting delays bolting by redirecting plant energy
- Accept that cilantro will bolt in summer heat no matter what; stagger-sow new seeds every 3 weeks
Frequently Asked Questions
What herbs are easiest to grow in an apartment?
Basil, mint, and chives are the most forgiving for beginners. They tolerate some neglect, grow quickly in summer, and bounce back from minor overwatering or under-watering. Start with these three before adding more demanding herbs like rosemary or tarragon.
How much light do indoor herbs need in summer?
Most culinary herbs need 6 or more hours of direct sun daily. South- and west-facing windows are ideal. If your apartment lacks strong natural light, a basic LED grow light (full-spectrum, 6-8 inches above plants, running 12-14 hours per day) is an affordable fix that works very well.
How do I make my herb garden look aesthetic?
Stick to one visual style and repeat it across all your containers. Use matching pots, vary heights with risers or hanging displays, and group plants in odd numbers. A single decorative accent — a small tray, a ceramic object, a wooden label set — pulls the whole display together.
How often should I water apartment herbs in summer?
Most herbs need watering every 1-2 days in summer, sometimes daily for small terracotta pots in full sun. Always use the finger test: push a finger 1 inch into the soil. Water only when it feels dry at that depth. This beats any fixed schedule for keeping herbs healthy.
Key Takeaways
- A great apartment herb garden starts with a plan — pick your style, confirm your light, then buy plants and pots.
- Matching containers are the single fastest way to make your herb garden ideas look polished and intentional.
- Basil, mint, chives, rosemary, and thyme are the core lineup for summer container gardening success — reliable, beautiful, and actually useful in the kitchen.
- Harvest correctly (cut above leaf nodes, take no more than one-third at once) and your plants stay bushy all season.
- Drainage and light are the two variables that matter most — get both right and your container herb garden almost takes care of itself.