

Sprouts vs. Microgreens for Beginners
Sprouts vs. microgreens for beginners—we tested both methods. The FDA safety data nobody mentions changes everything. Start your safest crop tonight!
I’ve been growing both for years now, and trust me, they’re about as different as a quick microwave meal versus slow-cooking a roast. Both get you fed, but the process? Completely different stories. When comparing sprouts vs. microgreens for beginners, the choice isn’t as obvious as most guides make it seem.
Here’s my honest take after countless jars of sprouts and trays of microgreens: For the fastest results with basically zero equipment, sprouts are your easiest starting point. But if you want long-term success with superior safety and flavor, microgreens are hands-down the more reliable choice for beginners.
Let me walk you through everything—the good, the slightly annoying, and the genuinely surprising differences in the sprouts vs. microgreens for beginners debate. By the time you finish reading, you’ll know exactly which method fits your lifestyle, budget, and patience level.
Table of Contents
Understanding What You’re Actually Growing
Let’s clear up the confusion first because honestly, I thought sprouts and microgreens were just different names for the same thing when I started. In the sprouts vs. microgreens for beginners comparison, understanding the biology makes all the difference.
What Are Sprouts? (The 2-7 Day Sprint)
Think of sprouts as the instant gratification option. When you’re eating sprouts, you’re literally consuming the entire baby plant—seed, root, stem, and those teeny-tiny first leaves all together. It’s like eating the whole thing, wrapper included (but in a good way, I promise).
Here’s what makes sprouts so appealing: you literally just need water. No soil, barely any light, and you’re harvesting fresh food in 2-7 days. The usual suspects include alfalfa sprouts (mild and crunchy), mung bean sprouts (thick and satisfying), and broccoli sprouts (the health enthusiast’s favorite).
What Are Microgreens? (The 7-21 Day Marathon)
Microgreens are where things get a bit more “real gardening” vibes in the sprouts vs. microgreens for beginners discussion. You’re harvesting young seedlings after their first true leaves show up and they’ve started photosynthesis. Basically, they’re actual tiny plants, not just germinated seeds.
Unlike sprouts, microgreens need soil or growing medium and proper lighting. The timeline stretches to 7-21 days, but you get intense flavors and better safety. My go-to recommendations? Pea shoots (sweet and forgiving), radish microgreens (peppery and fast), and sunflower microgreens (substantial and hard to mess up).
The Plant Life Journey
Here’s something that blew my mind: Seed → Sprout → Microgreen → Baby Leaf → Mature Plant. They’re the same plant at different life stages! You can actually transition sprouts to microgreens by transferring them to soil and adding light.
For deeper insights into the biological differences and growing methods, check out this comprehensive guide: Sprouts vs Microgreens: Differences, Benefits, and Which One to Grow.
The Real Talk: Time, Money, and Space in Sprouts vs. Microgreens for Beginners
Let’s get practical because these three factors will make or break your success in the sprouts vs. microgreens for beginners decision.
Time Investment Reality Check
Sprouts Timeline: You’re looking at 2-7 days from “I should grow something” to “I’m eating something I grew.” Daily commitment runs 4-6 minutes split between morning and evening rinse sessions. Total weekly investment: 15-20 minutes of hands-on work.
Microgreens Timeline: The timeline stretches to 7-21 days from planting to harvesting. Daily commitment is about 3-5 minutes for watering and monitoring. Weekly time adds up to 20-35 minutes, but most of that is passive observation.
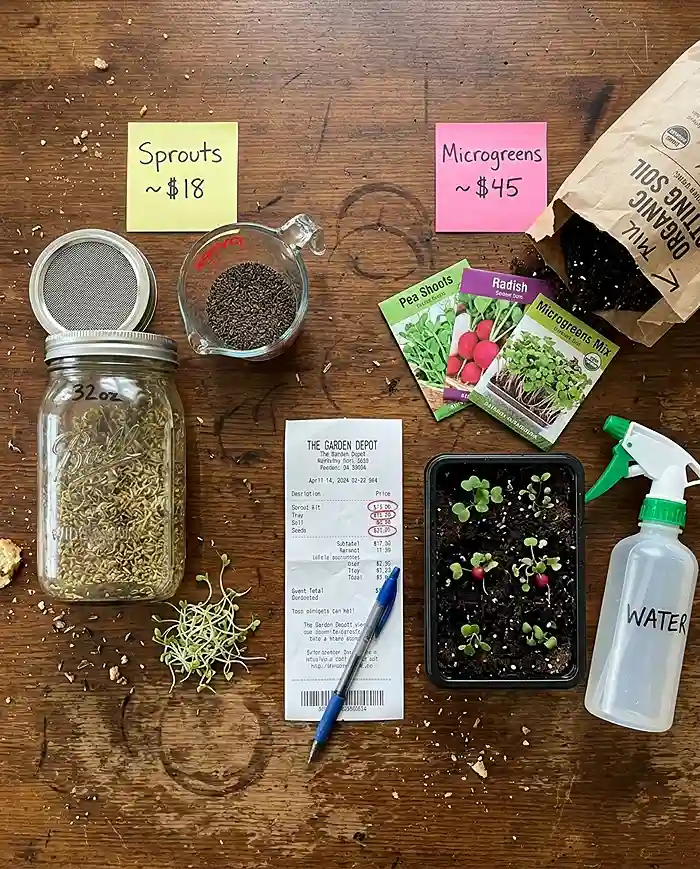
What’s This Actually Going to Cost?
Sprouts Startup Investment:
- Mason jar + mesh lid: 15-30$
- Organic sprouting seeds: 8-12$ per pound
- Cost per harvest: 0.50-2.00$
- Ongoing costs: Seeds only
Microgreens Startup Investment:
- Growing trays with drainage: 10-20$
- Growing medium (soil/coco coir): 10-15$
- Light source: Free (windowsill) to 25-40$ (LED grow light)
- Seeds: 10-20$ per variety pack
- Total initial cost: 30-95$
- Cost per harvest: 2-5$
Space Requirements
Sprouts: One mason jar needs about 4″ × 4″ of counter space. You can stack multiple jars vertically, and they don’t need window access.
Microgreens: You need at least one 10″ × 20″ tray near a light source with 12-18 inches of vertical clearance.
| Factor | Sprouts | Microgreens | Winner for Beginners |
|---|---|---|---|
| Harvest Time | 2-7 days | 7-21 days | Sprouts |
| Initial Cost | $$15-30$$ | $$30-95$$ | Sprouts |
| Space Needed | 4″×4″ | 10″×20″ | Sprouts |
| Daily Labor | Active (rinsing) | Passive (monitoring) | Microgreens |
| Safety Risk | Higher | Lower | Microgreens |
Equipment and Daily Reality: Sprouts vs. Microgreens for Beginners
This is where the “easy” claims get interesting in the sprouts vs. microgreens for beginners comparison.
What Gear Do You Actually Need?
For Sprouts: Wide-mouth mason jar, mesh sprouting lid (or cheesecloth and rubber band), and clean water. Setup time: 5 minutes.
For Microgreens: Shallow growing trays with drainage, organic potting soil or coco coir, spray bottle, and light source (windowsill or LED grow light). Setup time: 15-20 minutes.
The Daily Grind
Sprout Routine: Morning rinse and complete drainage (2 minutes), evening repeat (2 minutes). Here’s the catch—you cannot skip this. Miss one rinse cycle and you’re risking slimy disappointment.
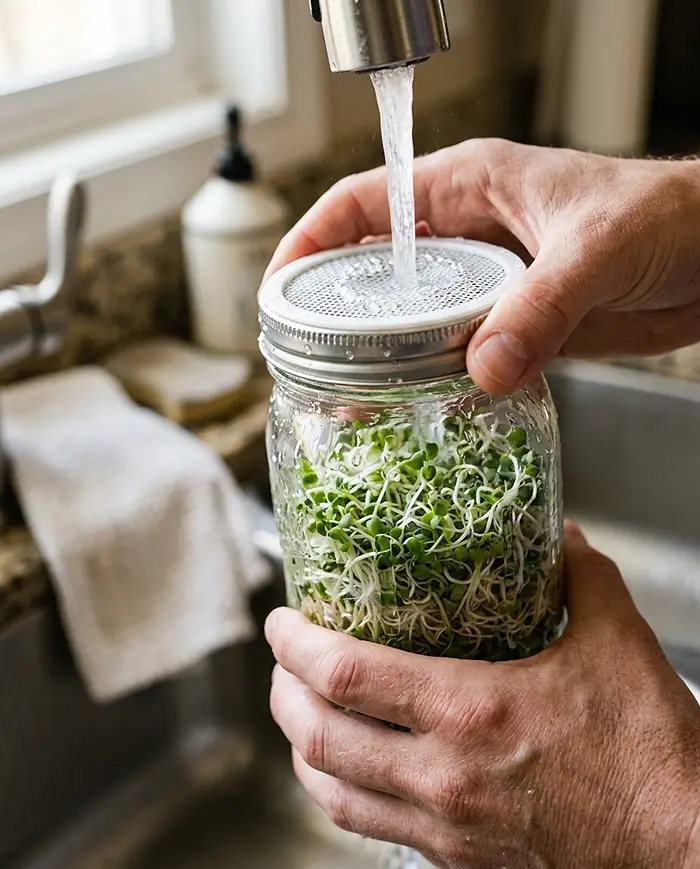
Microgreen Routine: Daily watering via bottom watering or light misting (3-5 minutes), light management, and air circulation checks. The beautiful part? If soil feels moist, you can skip a day without catastrophe.
Key Insight: In sprouts vs. microgreens for beginners, sprouts demand rigid twice-daily attention while microgreens offer more forgiving schedules for busy lifestyles.
The Safety Factor: Why “Easy” Doesn’t Always Mean “Safe”
This is the most critical aspect of sprouts vs. microgreens for beginners that many guides gloss over.
Sprout Contamination Risks
According to FDA food safety guidelines, sprouts have been linked to over 30 documented Salmonella and E. coli outbreaks since 1996. That warm, humid environment (70-80°F) that makes sprouts grow fast? Bacteria love those same conditions.
Risk factors:
- Bacteria can penetrate seed coats before germination
- Enclosed jar systems limit air circulation
- Contamination often undetectable until consumption
Mitigation strategies:
- Buy certified pathogen-tested seeds
- Sanitize seeds with diluted bleach solution
- Never skip rinse schedules
- Consume within 2-3 days
Microgreen Safety Advantage
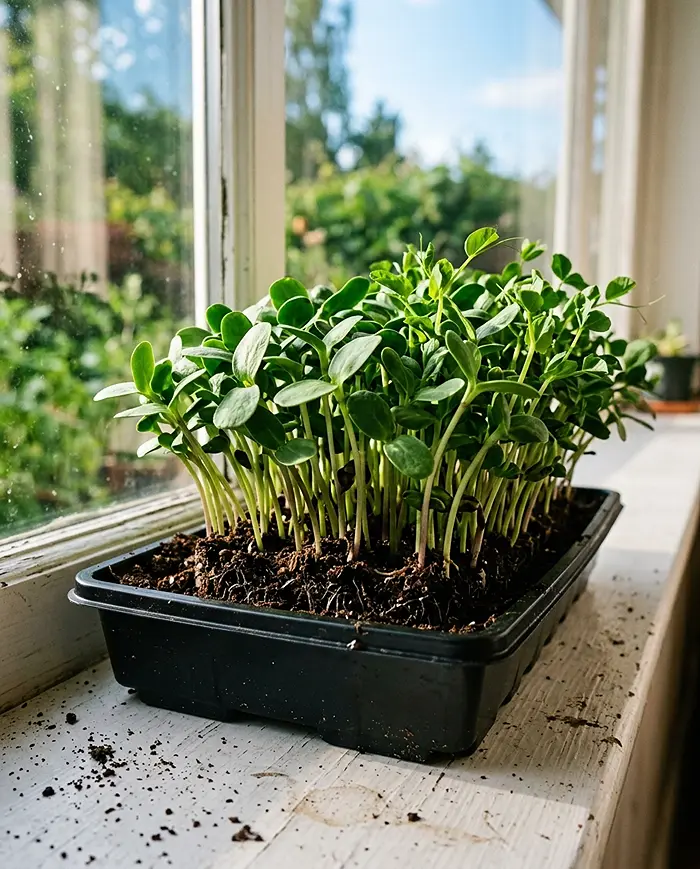
Microgreens present significantly lower risks because you harvest above the soil line, eliminating root-zone contamination. Active photosynthesis creates environments less hospitable to harmful bacteria, and open-air tray systems promote beneficial circulation.
Safety Verdict: For households with children, elderly, or immunocompromised individuals, microgreens are the clear winner in sprouts vs. microgreens for beginners.
Nutritional Showdown
Both options blow store-bought lettuce away nutritionally, but they excel differently.
Microgreens: Vitamin Powerhouses
University of Maryland research shows microgreens contain 4\times to 40\times higher vitamin concentrations than mature plants. Red cabbage microgreens have 40\times more Vitamin C than regular cabbage.
Sprouts: Enzyme Champions
Germination activates enzymes that increase nutrient absorption by 300-500%. Broccoli sprouts contain 10\times to 100\times more sulforaphane than mature broccoli, providing powerful antioxidant benefits.
Beginner-Friendly Varieties
“Indestructible” Sprouts
- Alfalfa: 5-day harvest, 95%+ germination rate
- Mung Bean: 3-5 days, virtually impossible to kill
- Broccoli: 5-7 days, maximum health benefits
“Forgiving” Microgreens
- Pea Shoots: 10-14 days, tolerates low light, regrows after cutting
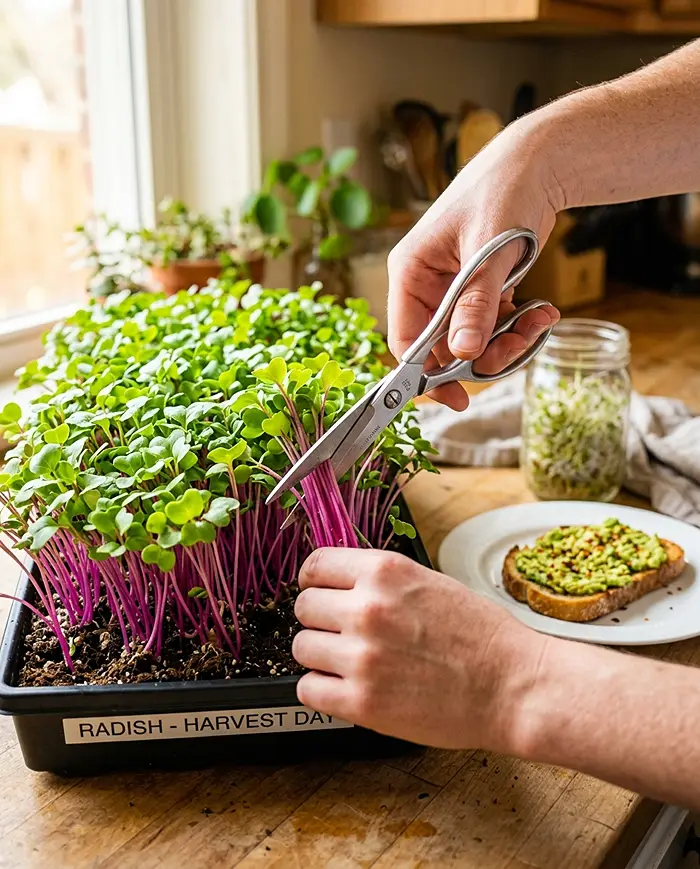
- Radish: 7-10 days, fastest-growing option
- Sunflower: 10-14 days, substantial yields, large seeds easier to handle
Troubleshooting Your First Crop
| Problem | Sprouts Fix | Microgreens Fix |
|---|---|---|
| Poor growth | Increase rinse frequency, maintain 70-75°F | Increase light intensity, maintain 65-75°F |
| Mold/smell | Improve drainage, sanitize equipment | Improve ventilation, reduce watering |
| Slow germination | Use fresh seeds, check temperature | Use humidity dome, ensure soil moisture |
Final Verdict: Sprouts vs. Microgreens for Beginners
Choose Sprouts If You:
- Want harvestable food within one week
- Have minimal budget (15$ maximum)
- Don’t mind rigid twice-daily maintenance
- Have extremely limited space
- Prioritize enzyme content and bioavailability
Choose Microgreens If You:
- Can invest 30-50$ for better long-term results
- Prefer flexible daily monitoring
- Want safer food production
- Have windowsill access or can add grow lights
- Prioritize vitamin density and culinary variety
The Smart Beginner Move
Don’t choose sides in sprouts vs. microgreens for beginners—do both! Start alfalfa sprouts tonight (harvest in 5 days) while setting up radish microgreens (harvest in 10 days). This provides continuous harvests while you learn both methods.
Frequently Asked Questions
Can sprouts turn into microgreens?
Yes! Transfer 2-3 day old sprouts to soil with adequate light, and they’ll develop into microgreens within 5-7 additional days.
Do I need expensive grow lights?
No. A bright south-facing windowsill works for fast varieties like radish and pea shoots. LED grow lights (25-40$) are only needed for consistent year-round production.
Which is more cost-effective long-term?
Microgreens have higher upfront costs but better economics due to higher yields, longer storage life (7-10 days vs. 2-3 days), and lower spoilage rates.