

Best Microgreens to Grow Indoors for Beginners
Discover the best microgreens to grow indoors for beginners, with easy varieties that germinate fast, taste great, and thrive in small spaces.
Microgreens are young vegetable seedlings harvested right after the cotyledon stage, usually between 7 and 14 days after germination. They’re tiny, yes — but don’t let that fool you. These little guys pack a serious nutritional punch, grow in almost zero space, and require the kind of minimal effort that makes traditional gardening look unnecessarily complicated.
The easiest ones to start with? Radish, broccoli, pea shoots, arugula, and cabbage. Keep reading — we’ll break each one down so you know exactly what to grow first.
Table of Contents
Why Best Microgreens to Grow Indoors for Beginners Actually Make Sense
Fast Harvest Cycles (7–10 Days) Mean You Won’t Lose Motivation
Here’s a fun comparison: growing a tomato plant takes 60 to 90 days. Growing radish microgreens takes about 5 days. That’s not a typo. While your neighbor is still waiting for their first cherry tomato, you’ll have already harvested multiple trays of fresh, spicy greens. For beginners especially, that quick feedback loop is everything — it keeps you motivated and actually learning.
They’re Freakishly Nutrient Dense
Research published in the Journal of Agricultural and Food Chemistry found that microgreens contain 4 to 40 times more nutrients than their fully mature vegetable counterparts. We’re talking concentrated vitamins C, E, and K, plus powerful antioxidants — all packed into a tiny handful of greens. It almost feels unfair how much nutrition fits into something this small.
Minimal Space? No Problem
No backyard? No problem. No balcony? Still fine. A single square foot on a sunny windowsill is genuinely all you need to get started. Plenty of apartment growers run a full weekly harvest operation from one small shelf.
If you’re looking for a complete setup idea, this Microgreens Complete Growing System for Small Apartments is a solid starting point that covers everything from tray placement to lighting in compact spaces.
The Cost-Efficiency Case (It’s Pretty Convincing)
Let’s talk money for a second, because this comparison is genuinely eye-opening:
| Source | Cost | Yield | Cost per Serving |
|---|---|---|---|
| Store-bought microgreens | $8–$12 | ~50g | Expensive |
| Homegrown tray | $2–$3 | ~200g | Very cheap |
Growing your own gives you roughly four times the yield at a quarter of the cost. Over weeks and months? Those savings add up fast. Your morning smoothie will thank you.
The 4 Best Microgreens to Grow Indoors for Beginners (Start Here)
Radish Microgreens — The One You Should Grow First
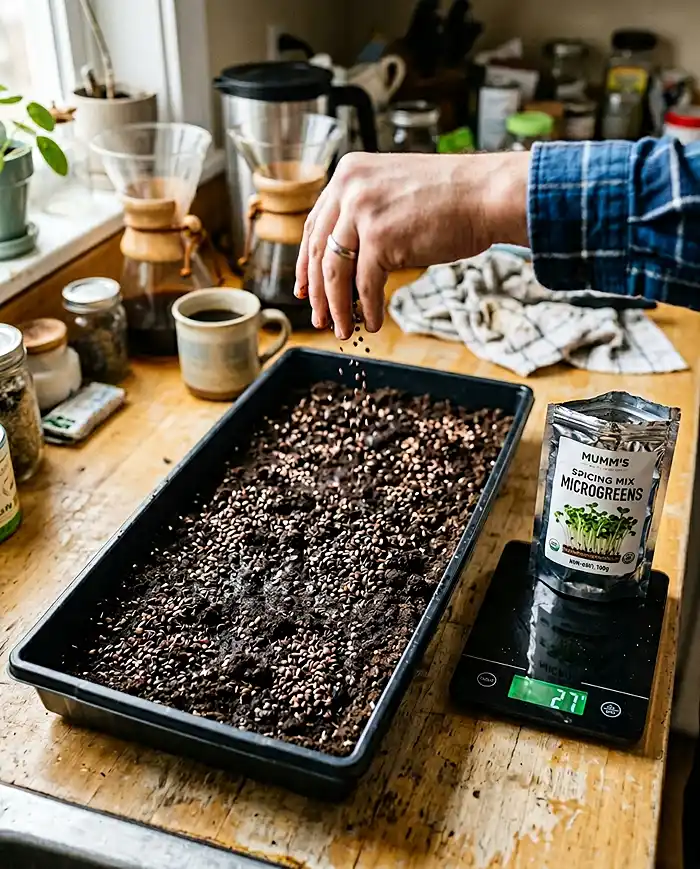
If you’re a total beginner and you want a guaranteed win, grow radish microgreens first. Full stop. They germinate in what feels like overnight, they’re ready to harvest in just 5 to 7 days, and they taste incredible — spicy, crunchy, and bold in a way that makes you feel like a proper chef when you toss them on anything.
Radish seeds have a ridiculously high germination rate, which means you’re not going to plant them and nervously wonder if anything’s happening. Something’s definitely happening. They also respond brilliantly to the weighted blackout method (more on that below), which helps them develop strong, even stems right from the start.
Broccoli Microgreens — The Nutritional Superstar
If radish is the fun one, broccoli is the smart one. Broccoli microgreens are one of the most researched foods in the functional nutrition world, largely because of sulforaphane — a powerful antioxidant compound that’s been studied extensively for its anti-inflammatory and potentially cancer-preventive properties.
According to Johns Hopkins Medicine, sulforaphane in broccoli sprouts and microgreens is significantly more concentrated than in mature broccoli.
They harvest in 7 to 10 days, taste mild and slightly earthy, and honestly go with almost everything. They handle dense seeding well, resist mold better than most varieties, and are about as forgiving a crop as you’re going to find. Basically, broccoli microgreens are the overachiever of the bunch — and we’re here for it.
Arugula Microgreens — The Fancy One
Want to immediately impress anyone who sees your kitchen? Grow arugula microgreens. That peppery, almost nutty flavor that makes arugula great in salads is even more concentrated in microgreen form. They’re ready in 8 to 10 days and make everything from sandwiches to pasta look like it came from a bistro.
Here’s the one thing beginners get wrong with arugula: it’s a mucilaginous seed, meaning it gets gel-like when wet. That sounds alarming, but it just means you need to treat it differently — no weighted germination, lighter watering, and a little more patience. Treat it gently and it’ll reward you beautifully.
Pea Shoots — The Generous One
Pea shoots are the variety that makes you feel like a proper grower. They’re larger, sweeter, crunchier, and more impressive-looking than most microgreens. Harvest time is 10 to 14 days — slightly longer, but the yield is worth the wait.
The key prep step here is soaking your pea seeds in clean water for 8 to 12 hours before planting. This kick-starts germination and dramatically improves your results. Skip this step and you’ll notice the difference. They also do well with weighted germination, so don’t leave that part out.
Best Microgreens to Grow Indoors for Beginners — Quick Technical Reference
Before you start planting, here’s your cheat sheet. Getting 1020 tray seeding density right is one of the most important beginner skills — too sparse and you waste space, too dense and you invite mold problems:
| Microgreen | Seed Density (1020 Tray) | Blackout Days | Harvest |
|---|---|---|---|
| Radish | 25–30 g | 2–3 days | 5–7 days |
| Broccoli | 15–20 g | 2–3 days | 7–10 days |
| Arugula | 10–15 g (no weight) | 1–2 days | 8–10 days |
| Pea | 200–250 g | 3–4 days | 10–14 days |
Bookmark this table. Seriously — it’ll save you a lot of trial and error in your first few grows.
The Weighted Blackout Method Explained (It’s Cooler Than It Sounds)
What Is the Weighted Blackout Method?
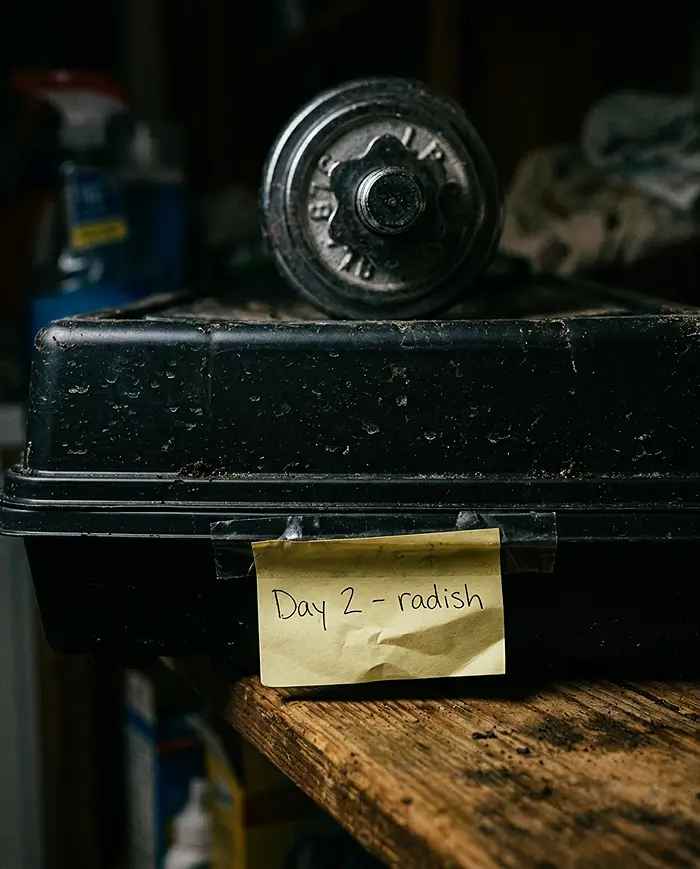
Here’s a technique that sounds slightly intimidating but is actually just stacking trays and putting something heavy on top. The weighted blackout method involves placing a second tray directly over your seeded tray, adding a 2 to 5 lb weight on top, and keeping the whole thing in a dark spot for the first few days of germination. That’s genuinely it.
Why Does It Work? (Quick Science Bit)
It comes down to geotropism — the plant’s biological response to gravity. When seedlings push upward against resistance in the dark, they develop thicker, stronger stems and root systems. The pressure encourages seeds to make full contact with the growing medium, which means more even germination across the whole tray. It’s basically a gym workout for your seedlings.
Who Gets the Weight and Who Doesn’t
Use weighted germination for: radish, broccoli, pea, and sunflower — these varieties actively benefit from the pressure.
Skip the weight entirely for: arugula, basil, and chia — their mucilaginous seed coatings make them sensitive to pressure, and weighing them down can ruin germination before it even gets started.
Essential Gear to Grow the Best Microgreens Indoors for Beginners
The 1020 Tray System — Don’t Overthink It
The 1020 tray (10″ × 20″) is the industry standard for microgreen growing, and for good reason — it’s the perfect size for a windowsill or shelf, it’s inexpensive, and it’s incredibly versatile. You need two trays per grow: one with drainage holes for planting and one solid tray underneath for bottom watering. That’s your whole system right there.
Growing Medium: Coir vs. Soil
- Coconut coir is clean, lightweight, holds moisture really well, and has low mold risk — it’s the go-to for most beginners and commercial growers alike.
- Organic potting soil offers more baseline nutrients and can support slightly more vigorous growth, but it’s heavier and a bit more prone to mold if airflow isn’t great.
For your first few trays? Go with coir. It’s more forgiving and easier to work with while you’re learning the ropes.
Lighting — Don’t Let Your Plants Go Leggy
Your options here range from a bright south-facing window to a dedicated full-spectrum LED grow light. The rule of thumb is 12 to 16 hours of light per day. Budget grow lights are widely available for under $20 and work perfectly well for one or two trays.
If your window light is inconsistent or you’re in a cloudier climate, a cheap LED is genuinely one of the best investments you can make for indoor plant care.
Step-by-Step: How to Actually Grow Microgreens at Home
- Prepare your tray — Fill the holed tray with 1 to 1.5 inches of moist coir or potting soil and level it evenly.
- Measure your seeding density — Weigh your seeds using the reference table and spread them as evenly as possible across the surface.
- Mist and cover — Give the seeds a light mist with a spray bottle, then place the second tray on top.
- Apply weight (if appropriate) — Add your 2 to 5 lb weight and move to a dark, room-temperature spot.
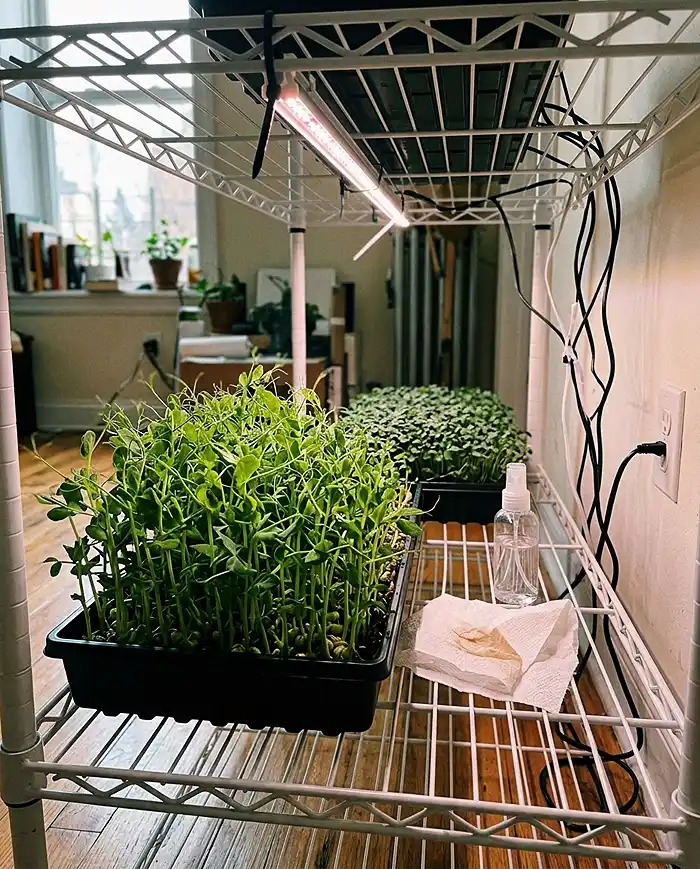
- Introduce light after sprouting — Once seedlings are pushing upward (usually 2 to 4 days), remove the weight and move to your light source.
- Bottom water daily — Pour 1 to 2 cups of water into the solid bottom tray each day and let the medium wick it upward naturally.
- Harvest with scissors — When cotyledons are fully open, cut just above the soil line. Enjoy immediately — they’re at their best fresh.
Troubleshooting: The Stuff Nobody Warns You About
Mold vs. Root Hairs — The Beginner’s Most Confusing Moment
Almost every new grower panics about this at least once, so let’s clear it up now. Root hairs are fine white filaments attached directly to the root system — they’re totally normal, healthy, and will disappear when you mist them.
Mold looks fuzzy or web-like, spreads across stems and soil, and does not flatten when misted. If it spreads and smells off, it’s mold. If it disappears when wet, you’re fine.
Preventing Mold Before It Starts
Good airflow is your best defense — a small fan running nearby does wonders. Avoid overwatering (bottom watering naturally helps here), sanitize trays between grows, and try to keep ambient humidity below 70%. Good soil health and clean equipment go a long way in keeping mold at bay.
Leggy Microgreens with Weak Stems
If your microgreens are growing tall and floppy, they’re telling you they need more light. Either move them closer to your light source, reduce the blackout period by a day, or consider upgrading from a dim window to even a basic budget LED. More light intensity almost always solves this problem quickly.
What to Actually Do With Your Microgreens
Here’s the fun part. Once you’ve harvested your first tray, you’ll want to know how to use them — and the answer is basically: on everything.
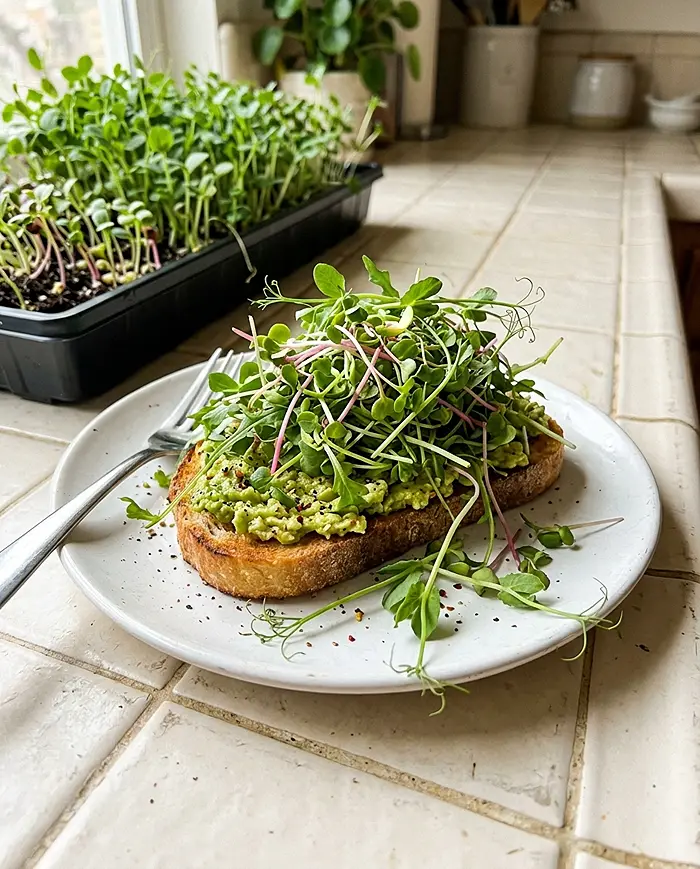
Peppery varieties like radish and arugula are brilliant on tacos, avocado toast, grain bowls, and salads. Sweet pea shoots work beautifully in stir-fries, pasta dishes, and sandwiches.
Earthy broccoli microgreens blend into smoothies seamlessly or pile onto scrambled eggs for a nutrition boost you won’t even taste. As garnishes on any plated dish, microgreens add color, texture, and a dash of “yes, I grew this myself” energy that’s genuinely hard to beat.
Frequently Asked Questions About the Best Microgreens to Grow Indoors for Beginners
Can microgreens regrow after cutting?
Most can’t — cutting removes the growing point and that’s that. The exceptions are pea shoots and onion microgreens, which can sometimes give you a second cut if the root system is healthy enough.
Do I need a greenhouse?
Nope. A windowsill, a small shelf, or a kitchen corner is plenty. Microgreens are basically purpose-built for indoor, low-infrastructure growing.
Are microgreens safe to eat raw?
Yes — as long as you’re using food-grade seeds (not seeds treated with agricultural fungicides), clean trays, and clean water. Hygiene throughout the process is the key safety factor here.
How much will one tray produce?
Typically between 150 and 250 grams of finished microgreens per 1020 tray, depending on variety and growing conditions. That’s plenty for several meals throughout the week.
Final Thoughts
Here’s the bottom line: the best microgreens to grow indoors for beginners — radish, broccoli, pea shoots, and arugula — are genuinely some of the most accessible, rewarding, and nutritious crops you can grow anywhere. You don’t need a garden. You don’t need a greenhouse. You don’t even need much counter space.
Start with one 1020 tray, pick one variety (radish if you want a confidence boost), nail your 1020 tray seeding density, use the weighted blackout method, and see what happens in a week. Spoiler: you’re going to be hooked. Microgreens are one of the fastest-growing indoor crops on the planet — and once you’ve harvested your first tray, one tray is never going to feel like enough.